My mum gave me a book to read called The Reason I Jump by Naoki Higashida, a boy with autism who was 13 at the time of writing the book.
He would be considered quite severely autistic, as he is unable to speak and used a computer, and alphabet grid and a transcriber to write the book.
This book has been very useful in my research, as it gives me an inside perspective from someone who actually has autism, about how people with autism experience the world, and what they want people without it to understand about them. This has been invaluable considering the aims of the brief are to portray autism in a more positive light, and our specific aim as a group is to normalise autism and show people with it as perfectly functional human beings.
This book is also helping me to create my audio file for my animation, as I've been feeling overwhelmed at the thought of condensing 13 minute's of Luke's interview to about 30 seconds. The book is constructed as a Q&A format; so Higashida answers common questions he faces about his autism and tries to communicate why he does things differently to what people might expect.
This has caused me to consider what I personally want people to understand about autism, and what I think Luke wants people to understand, based on his interview.
Again, I think just discussing his hobbies and daily life and normalising autism is the way forward. I'm feeling more able to pick out important bits of the conversation to form a 30 second narrative about a normal guy, who happens to have autism, who wants to be understood a bit better.
I hope that our target audience - people who don't really know what autism is or have an experience of it - manages to identify our aims through these animations.
Tuesday, 28 February 2017
Sunday, 26 February 2017
Choosing a song


Friday, 24 February 2017
Meeting with interview candidates NAS
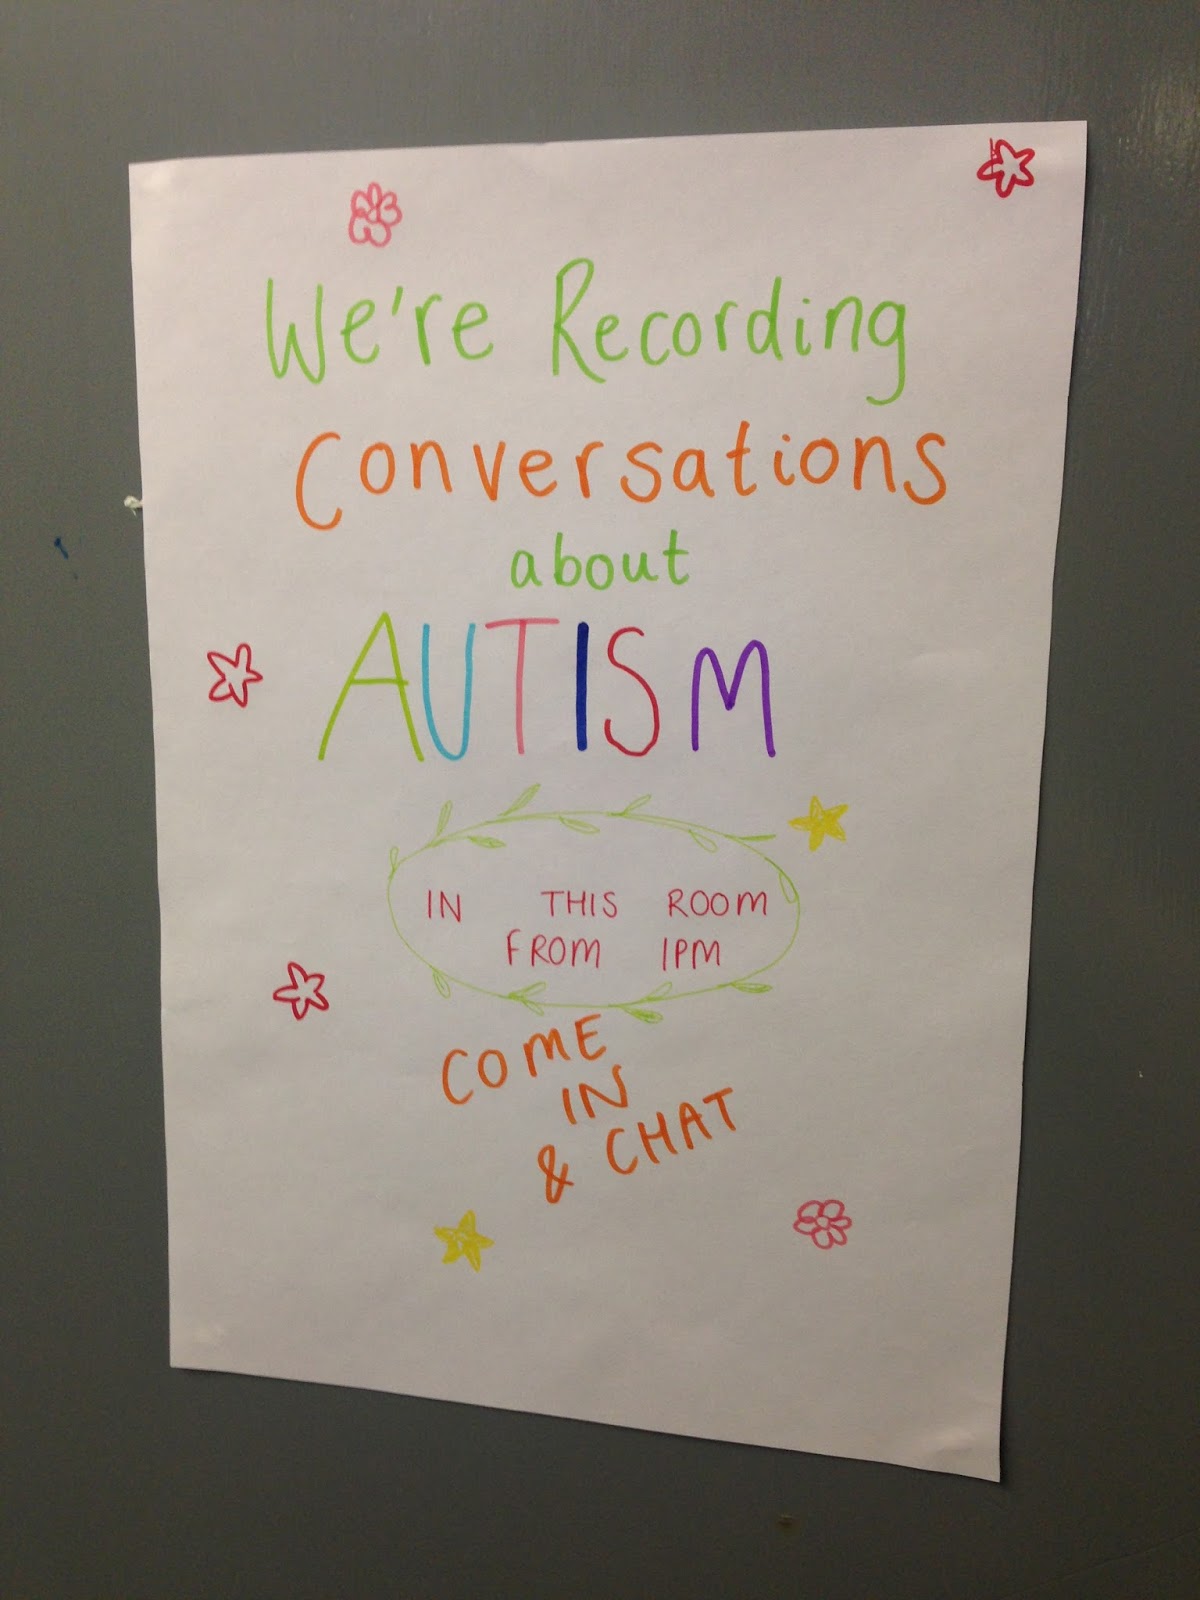
We held an open call for people with experience of autism to come and talk to us so we could record their personal experience and get a soundtrack and a focus for our animations.


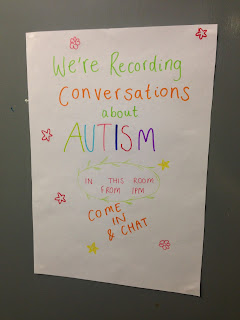
6 people showed up - 3 with autism and 3 with experience of autism (autistic siblings). The interviews ranged from about 7 minutes to 20 minutes.
Luckily, as there are 3 people with autism and 3 of us in the group, we decided to use them as it was more personal and we want to show that you shouldn't treat people with autism differently. We all picked one person who we felt we could animate, based on visual cues they gave in the interviews. I chose Luke!
Thursday, 23 February 2017
Moby New Statesman Brief


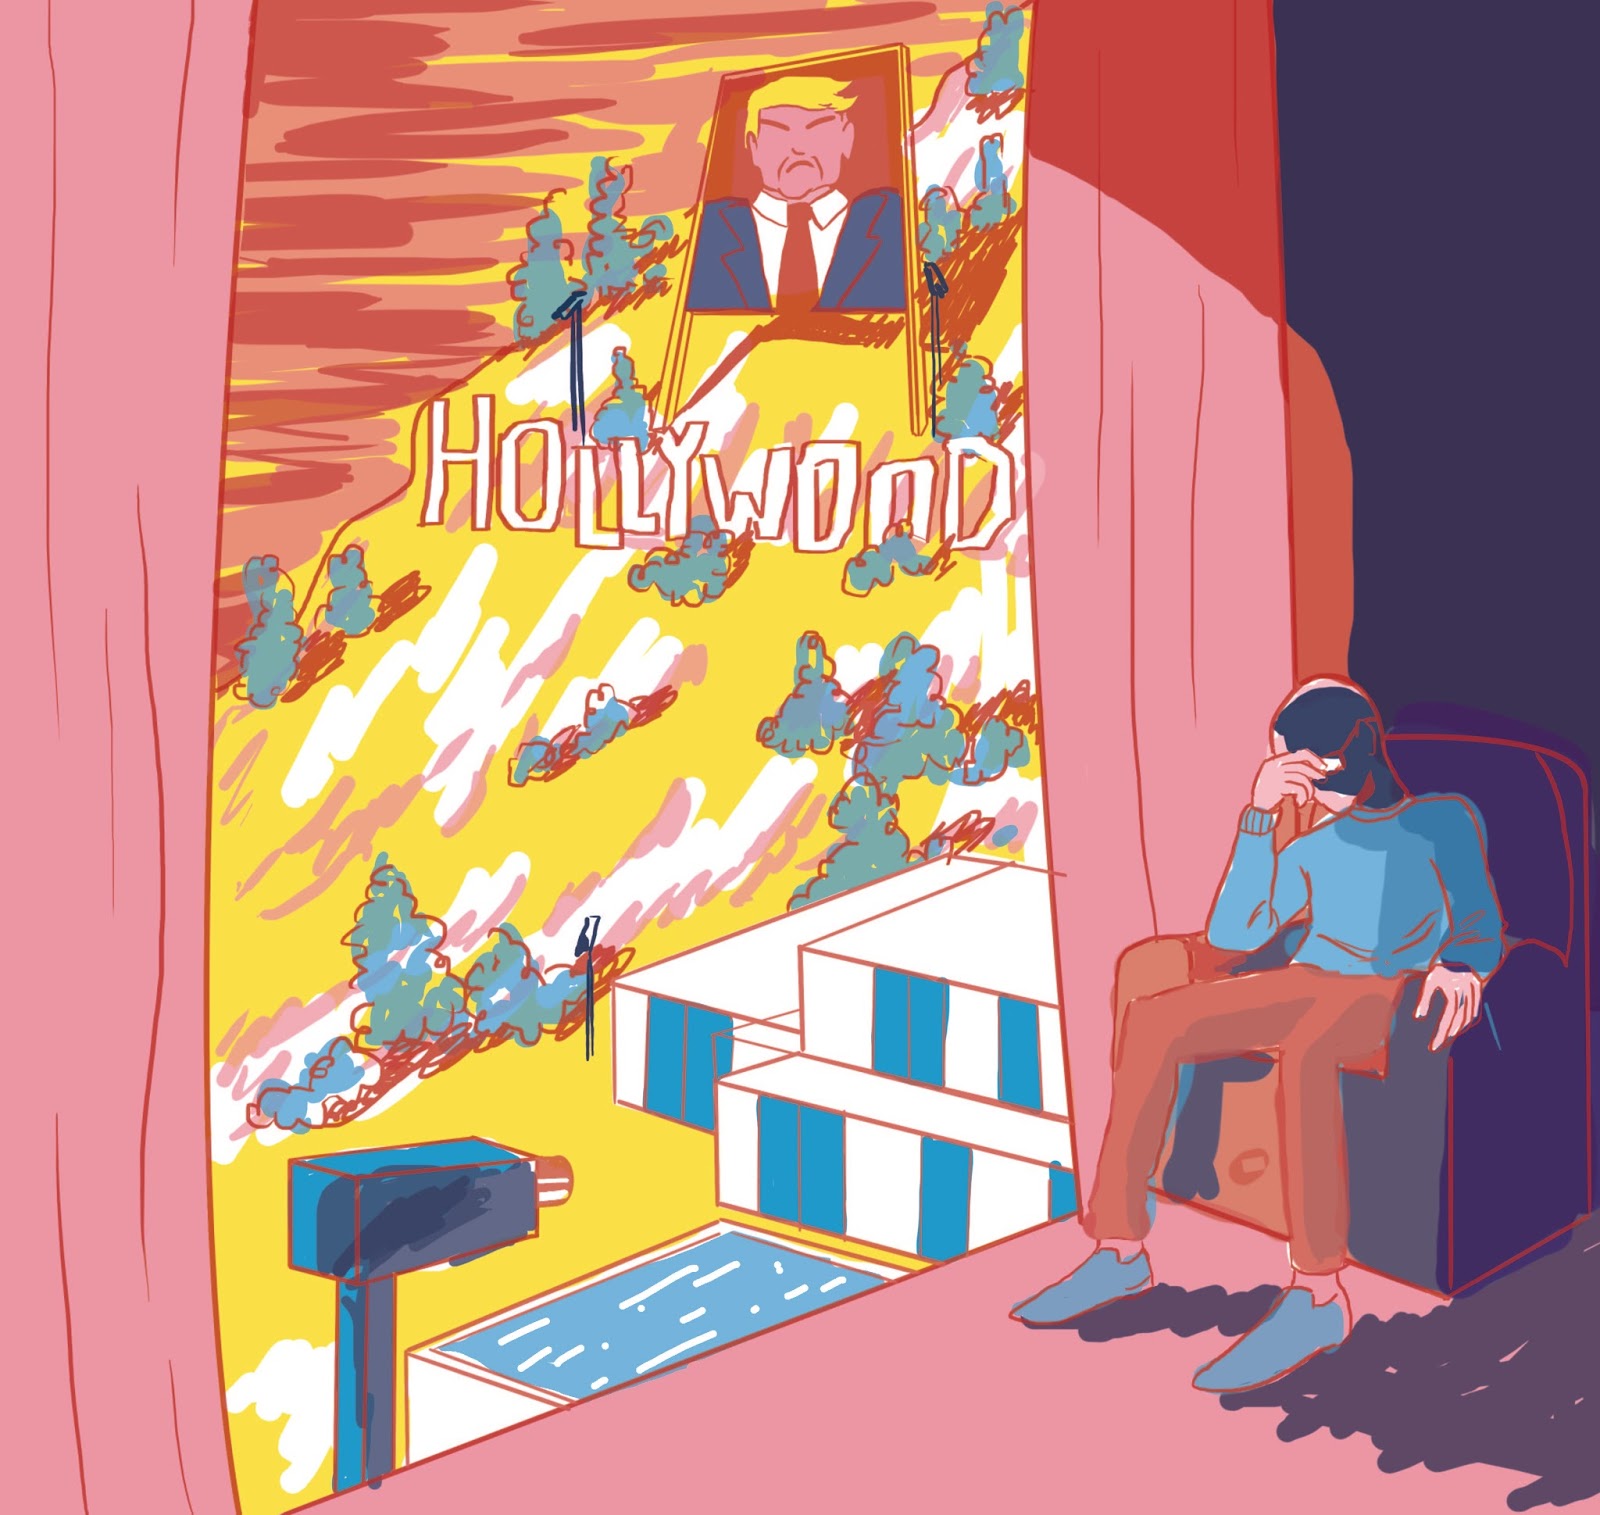
I wasn't too happy with the final thing. It was very rushed as I did it in the early hours before the deadline, and I could have adjusted it after but I didn't really want to. I do like the colours though, and want to try this colour scheme out again at some point.
Life, Animated - autism documentary research for NAS brief
A documentary about a boy with autism who grew up using animated Disney movies to learn to communicate.
Relevant to the brief we're doing and our response to the brief.
The trailer on YouTube also has a lot of positive comments/reviews from people with autism themselves, which shows that this documentary is well-made and representative of the experience of autism.
Key points:
Owen found the exaggerated expressions and emotions in Disney movies easier to understand than in real life. This is because autistic people often have trouble reading people's faces. It might be useful to use this info in our own animations when we create them!
Tuesday, 21 February 2017
Bookbinding Workshop
3 hole pamphlet stitch
Important:
Leave a 5mm overhang of the pages when measuring the cover - the book must be able to lie flat!
Important for you to cut the corners diagonally, but leaving 3mm spaceso as to cover the corners of the card!
I was very happy with the outcome of this workshop, and I've learned a very valuable skill. I think I could apply bookbinding to my practice, as I am making a comic. I was thinking that the comic should be presented in traditional comic format (i.e. stapled paper) when I finish with it, but I could produce a special hardback edition of it, as I would like to make use of this new skill!
Monday, 20 February 2017
Software for Packaging Workshop
- A net is a 3D object flattened, e.g.:

- Lots of nets available online! Available as vector downloads to open in Illustrator.
- Nets can be lasercut, but make these yourself - don't rely on nets found online.
Making a Jack-in-the-box net:

- Make Layer 1 into a guides layer.
- Use the rectangle tool to draw a rectangle over the whole artboard.
- Object - path - split into grid

- Select preview, choose the number of columns
- Select add guides

- Double click the layer and make into a template. This will lock and dim the layer, and it will not print this layer.

- New layer called Net
- Rectangle tool - hold alt and this will help center it.
- Hold alt and select the square - this will copy the square and you can move it to start making the net.

- Using transform guarantees that the square moves to the exact right place.
- Make a cross from squares in the middle of the page.

- Make the tabs by making another rectangle the same height as the squares, but a smaller width.
- Use the direct selection tool to select the two outer corners of the tab.
- Use the circles inside to curve the edges.

- Select the two tabs you've made

- Find the rotate tool, hold it down to get the reflect tool.

- Alt + click on the axis where you want to reflect the shapes, i.e. on the middle guide (the blue point)


- Copy one of the tabs, rotate it and place it on the top box.

- Now we must make a clear outline! Otherwise the laser cutter would cut it out into a jigsaw.
- Select everything, then copy it.
- Create a new layer called Fold Guides 1
- Use edit - paste in place

- Lock and hide this new layer.
- Select original net layer
- Go to window - pathfider
- Select all the shapes
- Use the unite tool and your shapes should turn into one outline

- Lock the net layer
- Close pathfinder
- Select the folds layer
- Select all shapes
- You could reduce the opacity to differentiate between what needs to be cut and folded.

- OR a dotted line for folds
- Select all again
- Select stroke, and there will be an option for a dashed line

- Unlock net
- Select the circle button and that will select everything on the layer

- Get rid of any fill by using the box on the left

- Do the same for the folds layer
- Now group everything on the folds layer.
Now, to create a double sided image:
- Unlock all layers, including guides
- You can swap to view - outline mode, to check that all your lines line up
- Select artboard tool

- Rename artboard to 'inside of box'
- Hold down alt key
- Click and drag your artboard, and it will make a copy

- Rename it 'outside of box'
Alternative fold guides method
- Make a new layer called Fold Guides 2
- Lock all other layers
- Make some crop lines using the pen tool, holding down shift to get straight lines. they should snap to the guide lines.
- You'll need to score or fold the lines first before you cut with this method!

- Make a new layer called artwork.
- File - place and choose image
- Embed or linked file - embed means you don't need to have the image in the same folder as the AI file, as with InDesign
- There's a button at the top that says embed!
- Add artwork to the inside of the box too!

Printing!
- PDF retains vectors! More accessible than an AI file if you want to send it into the public domain.
- If you have a net that isn't symmetrical you'll have to reflect the shape horizontally, when printing.
- Print two-sided on long-edge binging
- Click use artboards when exporting

Voila! A box!
Thursday, 16 February 2017

Thursday, 19 January 2017
National Autistic Society brief - collaboration?
I'm drawn to this brief because I have personal experience of Autism - my little brother (18 years old) is autistic, so I have access to his first hand experience as a source of research, as well as my own personal experience of how it affects/has affected my family and I.
I also have a friend who has an autistic little brother (14 or 15 years old I believe), so that is another point of research, if I manage to find an animator who wants to collaborate on this brief.
There's a growing amount of resources on autism, not only to educate about it but also showing the experience of having autism from the perspective of autistic people.
Monday, 16 January 2017
Summative Evaluation
End of Module Student Evaluation
BA (Hons)
Illustration
Module Code: OUIL504
Illustration 1: Production & Presentation
Name: Molly Halson
Student ID: mh259901
|
Learning Outcome
|
Evidenced
where?
Blog, Visual
Journal, Roughs, Final Illustrations, Stings, storyboards, development sheets
etc. (No more than 75 words)
|
Your grade
Using words:
> poor,
satisfactory, good, very good, excellent
|
|
5A5:
Demonstrate an informed understanding of issues relating to
image, media, format and context through the delivery of solutions to
identified visual problems.
(Knowledge & Understanding - Critical Awareness) |
·
Study Tasks on blog
·
Rough sketches in visual journal –
experimenting with elements like frame and composition
·
Evaluation of my own work and its context on
my blog
|
Good
|
|
5A6: Understand the potential and limitations
of a range of processes, technologies and techniques involved in the
development and production of work for print and screen based delivery.
(Knowledge
& Understanding - Research)
|
·
A3 author research sheets and further research
on my blog and visual journal
·
Print tests and evaluation of tests on my blog
·
Combination of multiple print processes using
Photoshop and After Effects in my final book and sting (SB2 and SB3 outcomes)
|
Very good
|
|
5B4: Analyse
and critically evaluate primary/secondary source material to inform the
development and contextualisation of ideas, concepts and products through
individual responses to set briefs.
(Cognitive
Skills - Problem Analysis, Problem Solving)
|
·
Problem solving evidenced in print tests and
evaluation of tests on blog
·
Roughs in visual journal show analysis of
compositional issues
·
Blog shows written problem solving and
evaluation of how these problems came to be and how they could be avoided in
future
·
Final sting and book show evidence of
development and problem solving
·
Storyboards
|
Very good
|
|
5C4: Select, manipulate and apply appropriate media, processes
and technologies in the development, production and presentation of ideas, concepts
and products.
(Practical Skills -
Practical and Conceptual Development)
|
·
Roughs and colour tests in sketchbook show
development of ideas
·
Print experimentation and print taken into
Photoshop show personal development of new skills and ways of thinking and
assessing ideas
·
Many thumbnails and roughs show visual
development and thinking
|
Excellent
|
|
5C5: Identify, evaluate and apply
practical/technical processes, materials and media in order to produce
technically competent and conceptually appropriate outcomes.
(Practical Skills - Visual Quality and Technical Competence) |
·
Final outcomes (particularly SB2 book and SB3
sting)
·
Blog - presentation
|
Very Good
|
|
5D4: Demonstrate the ability to
communicate the development and resolution of ideas through appropriate
visual and written presentation of work.
(Key Transferable Skills - Presentation and Evaluation) |
·
Blog – evaluation and reflection, mistakes and
how I’ve overcome them
·
Presentation of final outcomes (particularly
SB2 book)
|
Very Good
|
Summative Evaluation
|
Overall, I think this module went pretty well! Despite
struggling with motivation at various points during the module, I have
managed to produce final outcomes I’m pleased with. I’m even quite impressed with
my book and my sting, considering I left the bulk of the work until the last
week.
As has been a problem throughout my journey on the course,
my time management hasn’t quite been at the standard I’d like it to be. This
is partly due to struggling with ongoing personal issues (depression), but it
is something I am continuing to overcome. Despite these issues, I know that
my final outcomes for SB2 and SB3 are at a fairly high standard. There are
definitely things I would do differently if I had allowed myself more time,
such as taking time to learn proper shortcuts to make things easier for
myself in Adobe programs, and experimenting more with composition, frame and
arrangement of elements such as textures in both the book and the sting.
I have always found it hard to blog alongside my work,
showing key moments as they happen, which is something I am still working on
improving as I progress through the course. However, even though I don’t
necessarily show my reflection on my work as I do it, I do evidence
evaluation and reflection in my blog and even in notes to myself in my visual
journal.
I learned lots of new digital skills, such as how to
combine print methods effectively on screen through overlaying, and how to
use After Effects. Considering I have never used After Effects before, I am
pleased with the quality of my final sting for SB3. I actually really enjoyed
experimenting with animation, and will definitely consider it for other
modules, such as the collaboration brief in Responsive, or Applied
Illustration. I would appreciate the opportunity to take more time to get to
know the program and figure out how to make even better stings!
I was not as happy with the outcomes of SB1, the editorial
illustrations, as I was having a bit of an ‘artist identity crisis’ and
struggling with my own personal style. I can overthink things too much and
need to spend more time getting ideas down on paper and not analyzing them as
much as I do. My visual journal is full of written thinking, such as lists
and mind maps, which I find a lot more helpful sometimes than actually
drawing straight away. But, as always, since the start of the course last
year, I feel that very simple pencil roughs have helped me to figure out solutions
to many compositional problems.
I am still struggling somewhat to figure out my own
personal ‘brand’ of drawing, but I know for sure that I love making people
laugh and telling stories, and so comic narratives are definitely what I want
to explore as I go on. I enjoyed taking characters and themes from my author’s
stories and using them to create my own stories.
This module has taught me not to dismiss print processes –
I used to prefer to aesthetic of bold blocks of colour and strong lines, but
Printed Pictures (as well as Visual Language on Level 4) has helped me to
open my eyes to incorporating texture into my comics, and using shape in
addition to line in some of my drawings. I now appreciate that adding texture
can add depth and value to image, even more so than I did last year, as on
Level 4 I was still reluctant to push too far out of my comfort zone. Based on
feedback from my tutors and peers, I also challenged myself not to use text
and dialogue in my SB2 comic book, as I usually rely quite heavily on words.
This challenged me to tell the story through facial expressions and body
language, which I enjoyed!
I am disappointed that I didn’t do more screen-printing –
I do enjoy the process and the outcomes it renders, despite the time it takes
to get through. I didn’t allow enough time to screen print the whole book (as
I initially envisioned), but hopefully in one of the future modules I will organize
myself better and get down to the print room with enough time to spare.
In summary, I still need to work on organizing my time
better, expand my print and digital skillset and draw more comics!
|
Subscribe to:
Posts (Atom)